


Table of contents
Introduction:
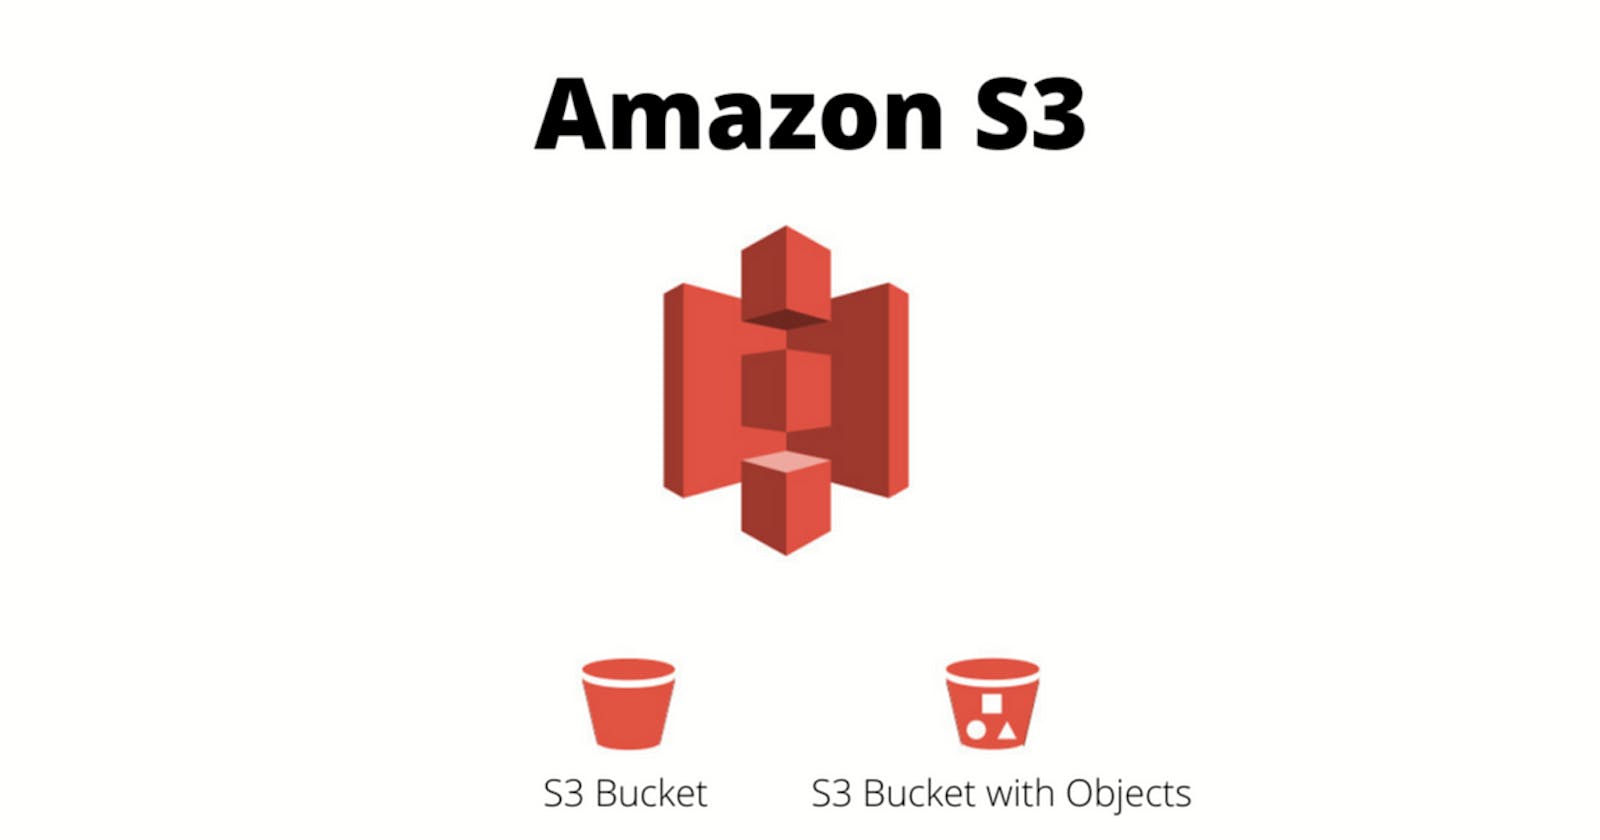
Amazon Simple Storage Service (S3) is a scalable and secure object storage service offered by Amazon Web Services (AWS). It allows you to store and retrieve any amount of data from anywhere on the web. If you're new to AWS and wondering how to create an S3 bucket, you're in the right place. In this step-by-step guide, we'll walk you through the process of creating your first S3 bucket in AWS.
Step 1: Sign in to AWS Console First things first, you need to have an AWS account. If you don't have one, you can easily sign up on the AWS website. Once you have an account, log in to the AWS Management Console.
Step 2: Navigate to S3 Service Once you're logged in, locate the "Services" dropdown in the top left corner of the AWS Management Console. Under the "Storage" category, click on "S3" to open the S3 dashboard.
Step 3: Click on "Create Bucket" On the S3 dashboard, you'll see a button labeled "Create Bucket." Click on it to start the process of setting up your new S3 bucket.
Step 4: Configure Bucket Settings You'll be prompted to provide some basic information for your new bucket. Here are the key settings to configure:
a. Bucket Name: Choose a globally unique name for your bucket. This name will be used in the URL to access your stored data. Keep in mind that bucket names must be unique across all of AWS, so choose wisely.
b. Region: Select the AWS region where you want your bucket to be stored. Choose a region that is geographically close to your target audience for optimal performance.
c. Configure options: You can leave the default settings for logging, versioning, and tags for now. These settings can be adjusted based on your specific requirements.
d. Set permissions: Define who can access your bucket and how. You can choose to keep it private, grant public access, or specify access permissions for specific AWS accounts.
Step 5: Review and Create Once you've configured your settings, review them to ensure everything is correct. Click on the "Create Bucket" button to finalize the process.
Step 6: Explore Your New S3 Bucket Congratulations! You've successfully created your first S3 bucket. You can now start uploading files, organizing data, and configuring additional settings based on your needs.
Conclusion:
Creating an S3 bucket in AWS is a fundamental step in leveraging the power of cloud storage. With this easy guide, you should be able to set up your S3 bucket quickly and efficiently. As you explore more advanced features and functionalities, remember that AWS offers extensive documentation and resources to help you make the most of your cloud storage experience. Happy bucketing!